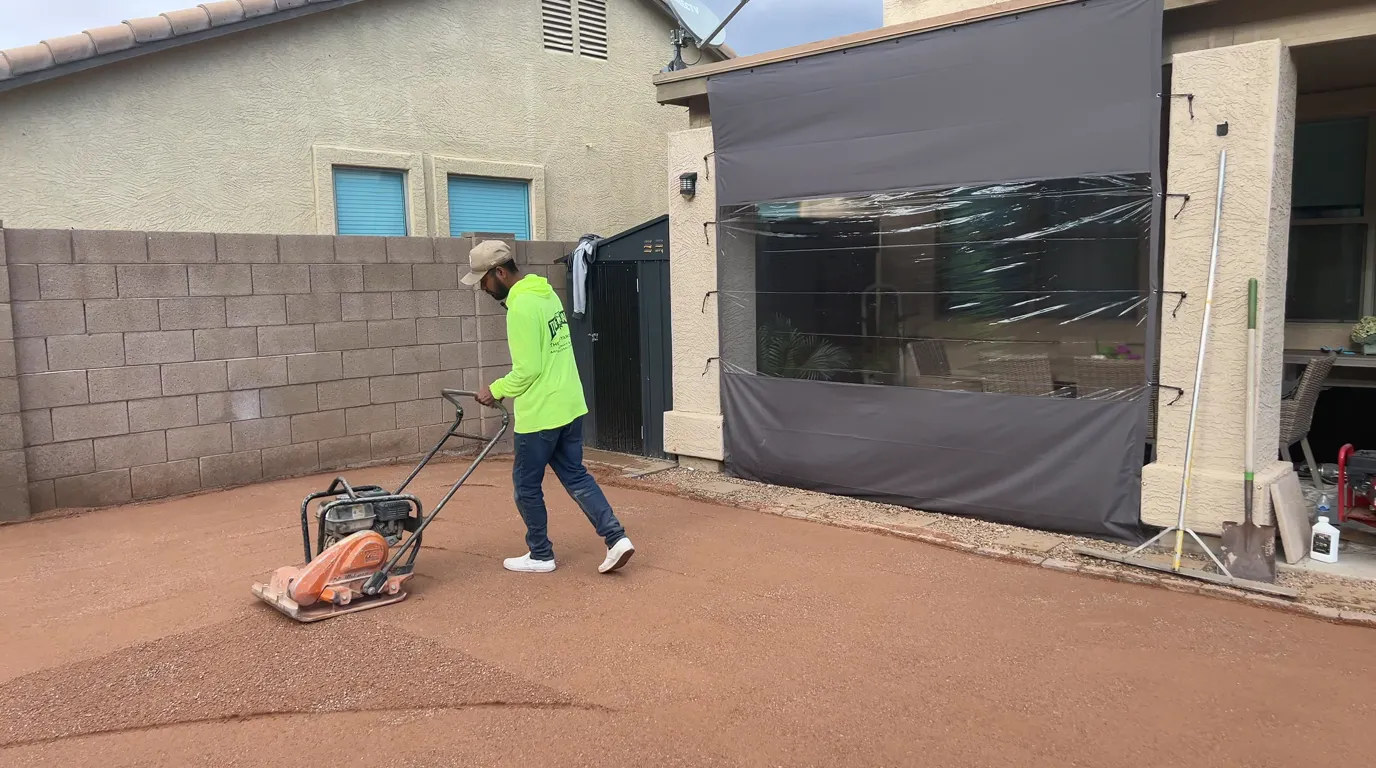
There’s a version of a turf project that goes smoothly, and a version that becomes a weekend of second trips to the supply yard. The difference is almost never skill. It’s whether you had an artificial turf installation checklist in hand — the right materials, in the right amounts, with the right specs — before you broke ground. The step people always skip is the boring one: compacting the base until it stops taking a footprint. Skip it and every shortcut you took shows up in the finished lawn, usually around the time the relatives come over.
So this is the checklist we actually use at the yard, split into two halves. First, everything to gather and dial in before you dig. Then a same-day QA walk-through to run once the turf is down. It pairs with our step-by-step install guide — that guide is the how, this is the what-to-have and what-to-check. It’s written for the ground we work in every day: the caliche and heat of Arizona and the freeze-thaw winters of Utah.
TL;DR — Quick Answer
A flawless artificial turf install is mostly bought, not built. Gather the right base, weed barrier, infill, seam supplies, and 5–6 inch non-galvanized nails in the right amounts before you dig. Compact the base until a boot barely leaves a print, slope it about 1 inch per 8–10 feet away from the house, then run the same-day QA walk-through — no wrinkles, vanishing seams, tight edges, infill brushed down, water sheeting away.
Two phases
Pre-install supplies + post-install QA
The step people skip
Compacting the base flat
Fasteners
5–6 in non-galvanized nails
Most under-ordered
Crushed aggregate base
Need a Materials List You Can Order From?
Run your square footage through our calculators and get a free quote on turf, base, and infill — no pressure, no obligation.
Table of Contents
Key Takeaways
- Order materials before you dig — base, fabric, infill, fasteners, and seam supplies all need to be on hand so you're not stalled halfway through.
- Compacting the base flat is the step people skip, and it's the one that telegraphs straight through the finished turf.
- Use 5–6 inch non-galvanized turf nails — the light surface rust locks them into the compacted base so they don't lift over time.
- Get quantities from a calculator, not a guess; crushed aggregate base is the line people most often under-order.
- Run the QA walk-through the same day — wrinkles, lifted edges, and shallow infill are easy to fix early and a pain to fix late.
How the Layers Stack Up
Before the checklist, it helps to picture what you’re actually building. An artificial turf lawn isn’t a rug you roll out. It’s a layered system, and every line on the supplies list maps to one of those layers.
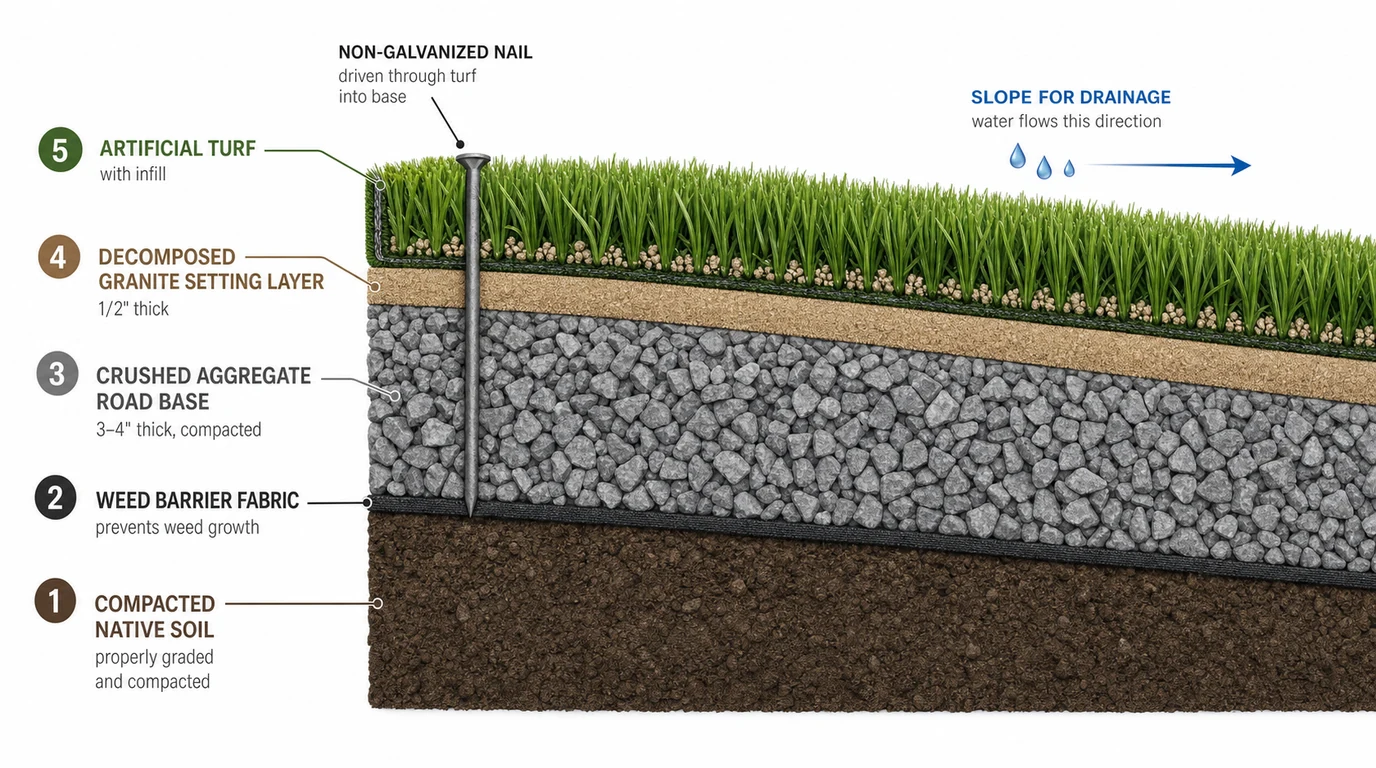
From the ground up: compacted native soil, a weed barrier, 3–4 inches of compacted crushed aggregate base, a finer setting layer to shape the surface, then the turf with infill brushed down into the blades. Get the materials for each layer right and the install is mostly patience. The Synthetic Turf Council publishes technical guidelines on base systems and drainage if you want the industry-standard version of the same stack. For the full process behind this diagram, see how to install artificial turf.
Part 1 — The Pre-Install Supplies Checklist
Here’s the honest truth about a smooth install: most of it is a shopping trip. Gather all of this first, in one go, and you never stall the project to drive back for a bag of something.
Materials:
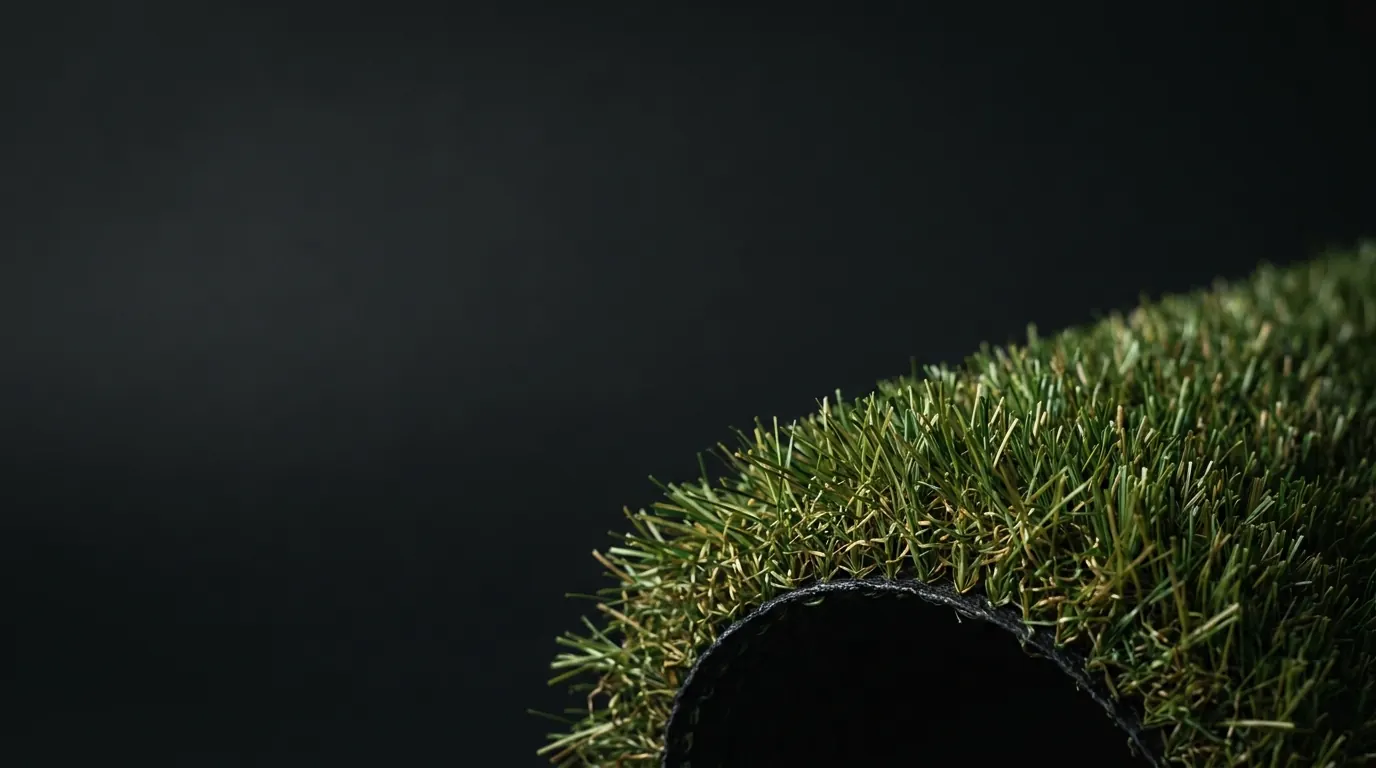
- Artificial turf — measured so the nap (the direction the blades lean) runs the same way across every piece, usually toward your main viewing point. Turf comes in fixed roll widths, so plan your layout to minimize seams. Use our turf calculator to estimate how much you need.
- Crushed aggregate base — road base or 3/4-inch minus for the structural layer. This is the line people most often under-order. Don’t eyeball it; our sub-base calculator turns your square footage and depth into tons of base.
- Quarter-minus / decomposed granite (fines) — the finer top setting layer you smooth and shape before laying turf.
- Weed barrier fabric — to block growth from below while still letting water drain through. It’s a $45 roll in Arizona, a little more in Utah, and it’s not the place to save twenty bucks.
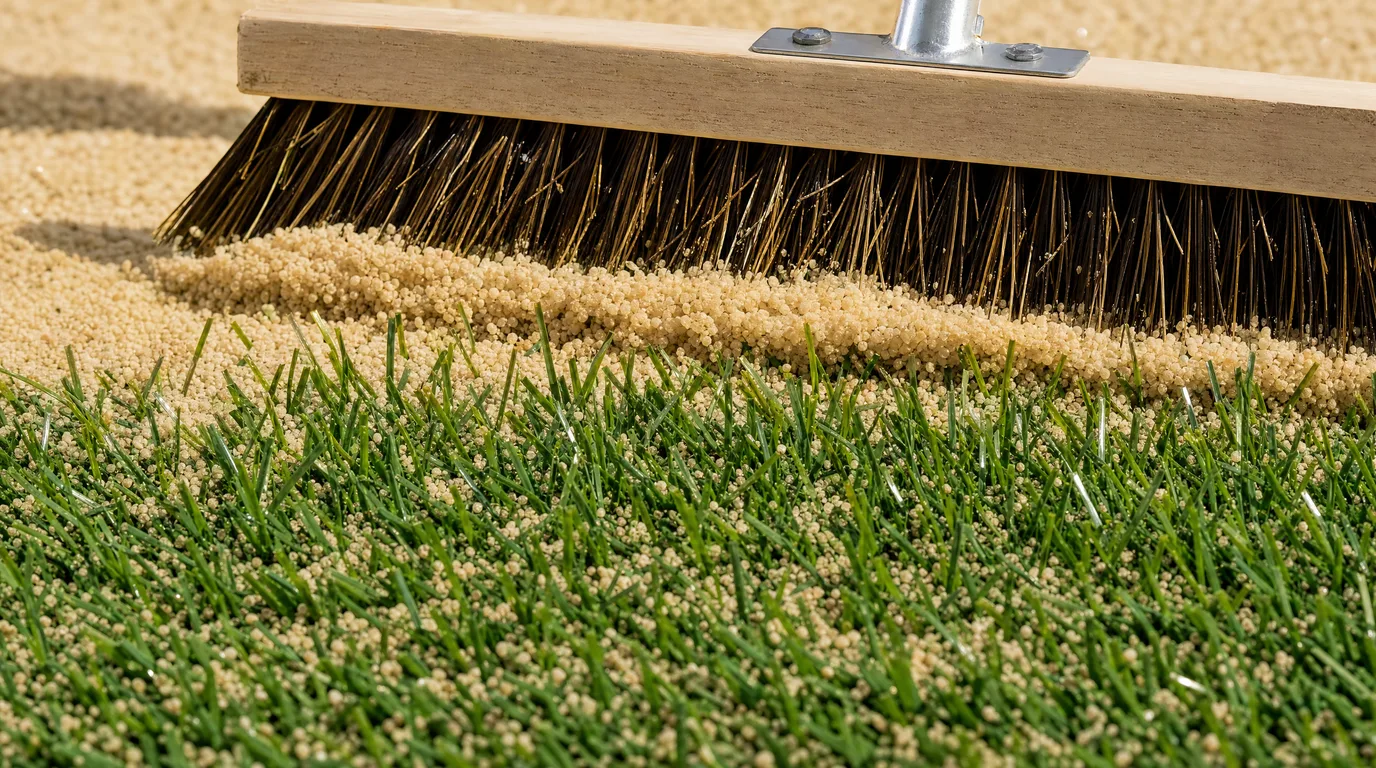
- Infill — silica sand for most lawns, or a coated, pet-rated infill for dog areas. Infill isn’t optional. It keeps the blades upright and protects the backing. See our turf infill page for the options.
- Seam tape and turf glue — only if your layout has more than one piece, but always have it on hand if you’re not sure. Running out mid-seam is its own special kind of bad day.
- Non-galvanized turf nails (5–6 inch) and/or landscape staples — see the spec note below. This one’s counterintuitive.
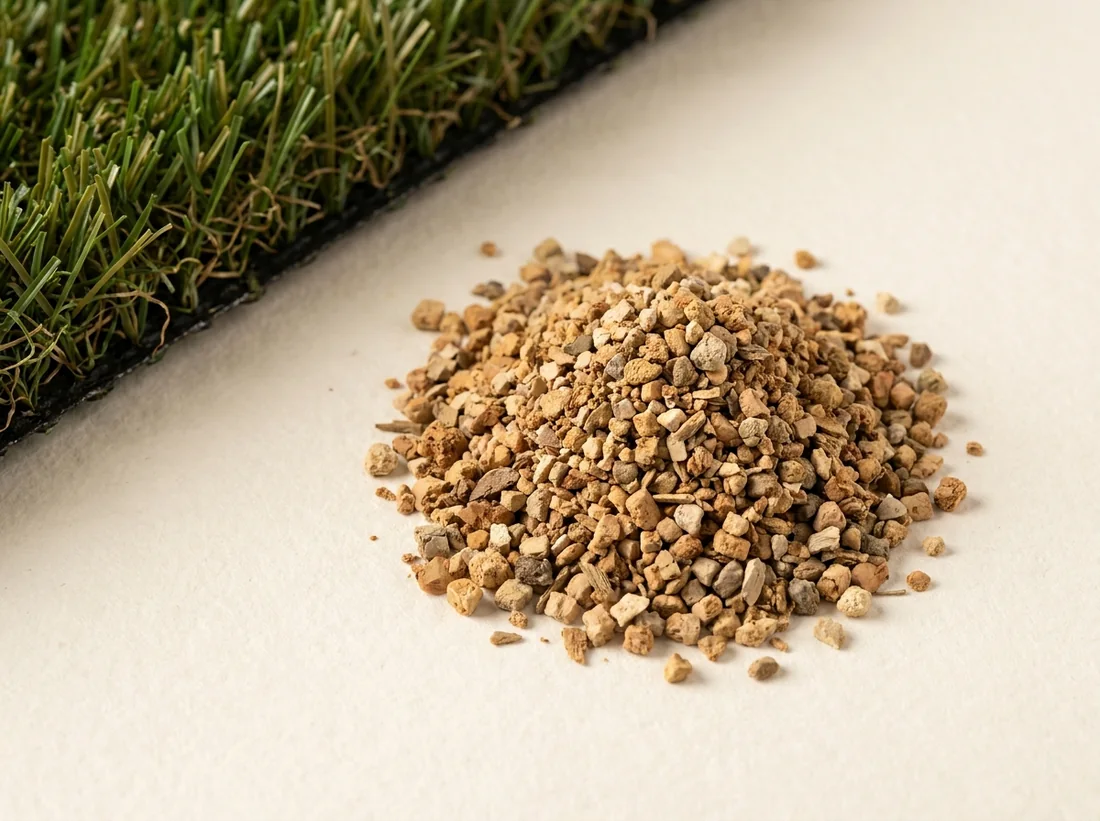
Natural Blend Pro Turf Infill Artificial Turf
Turf infill that supports blade stability, cushioning, drainage, and overall surface resilience.
View Turf Infill →Tools:
- Sod cutter or flat shovel (for removing existing grass)
- Wheelbarrow and a steel / landscape rake
- Plate compactor (rentable) and a hand tamp for edges
- Turf stretcher or knee kicker
- Sharp utility knife with extra blades — you’ll dull more than you expect
- Stiff push broom or a power broom for working in infill
- Drop spreader for infill
- Garden hose, measuring tape, marking paint
A Quick Note on Nails
Use non-galvanized nails, not galvanized. And yes, I know how that sounds. We spend our whole lives avoiding rust, and here I am telling you to invite it.
The reason is deliberate. A non-galvanized nail develops a light surface rust down in the compacted aggregate, and that rust effectively welds the nail into the hard base so it can’t work its way back up over time. A shiny galvanized nail resists rust and is far more likely to lift a season or two later — usually right at an edge, where it’ll catch a bare foot and file a formal complaint. It’s a small detail that separates a lawn that stays tight from one that grows fangs along the border.
Site Prep Checks Before You Dig
This is the part that decides everything, and it happens before a single roll comes off the truck.
- Mark your area with paint or a string line and confirm your square footage one more time. Measure twice, order once.
- Locate sprinkler lines, low-voltage lighting, and utilities so you don’t cut into them during excavation. Hitting a mainline is a memorable way to learn where it ran.
- Plan your drainage direction — the finished surface should slope gently away from the house, about 1 inch of fall per 8–10 feet. Turf drains through, but the water still has to go somewhere, and the EPA’s notes on how permeable surfaces shed and infiltrate stormwater are a good gut-check on why slope and a free-draining base both matter.
- In Arizona, plan for caliche. That hard, cement-like calcium layer won’t let water drain, so plan to break through or dig past it where you hit it. The desert was here first and it laid down concrete to prove it.
- In Utah and freeze-thaw climates, commit to a clean, well-draining base — trapped moisture that freezes is what causes heaving. A wet base that turns to ice is a problem you build in October and discover in February.
Not Sure How Much Base to Order?
Turn your square footage and base depth into tons of road base in under a minute, then request a free quote.
Part 2 — The Post-Install QA Walk-Through
Once the turf is down, fastened, and the infill is brushed in, don’t pack up yet. Run this walk-through the same day. Everything here is easy to fix in the first hours and progressively harder once infill settles and the sun sets the backing.
1. Base check (do this one before the turf goes down). The single most important checkpoint, and the one to verify before any turf is laid: the base should be firm, flat, and hold a footprint barely if at all. Walk across it. If your boot sinks or leaves a deep print, add fines, mist, and compact again. Compaction is just squeezing the air out so the particles lock together — the same principle agronomists describe when they warn about soil compaction and pore space, except here it’s the result you want. A ripple or soft spot now will telegraph straight through the finished turf.
2. Tension — no wrinkles or bubbles. Look across the lawn at a low angle, with the light raking across it. The turf should be pulled taut with no waves, bubbles, or ripples. If you see one, it usually means the turf needs another pass with the stretcher before it’s fully fastened.
3. Seams disappear. Where two pieces meet, brush across the seam with your hand or a broom. A good seam vanishes — the blades from both sides knit together and you can’t tell where one piece ends. If you can see a line or a gap, the seam needs attention before the glue fully cures.
4. Edges fastened tight. Walk every edge and every cut around pavers, posts, and tree wells. The turf should sit snug to hardscape with no lifting or curling. Confirm your non-galvanized nails are driven flush every few inches along perimeters and seams, and every 12–24 inches through the field.
5. Infill brushed all the way down. Part the blades with your fingers. Infill should be seated down at the base of the fibers, not sitting on top — that’s what weights the turf and keeps the blades standing tall. If the blades lie flat, brush in more infill in light passes until they stand up.
6. Drainage and final rinse. Give the lawn a good rinse and watch where the water goes. It should drain through and sheet away from the house — no pooling, no water running toward the foundation. This is your last chance to confirm the grading you set at the start is actually doing its job.
The Printable Install Checklist
Here’s the whole job on one page. This is the part of the post you actually want — print it, fold it into your back pocket, and check boxes as you go. It runs top to bottom in install order: gather, prep, build, then walk it.
The Artificial Turf Installation Checklist
Print it, keep it in your back pocket, and check boxes as you go. Top half is everything to have on hand before you dig; bottom half is the same-day QA walk-through. If you only nail one line, make it the base.
Good Base vs Rushed Base
Most install regrets trace back to one decision: how much patience you spent on the base before laying turf. Here’s the difference, checkpoint by checkpoint.
| Checkpoint | Done Right | Rushed |
|---|---|---|
| Base compaction | Boot barely leaves a print; firm and flat | Soft spots and ripples that telegraph through the turf |
| Base depth | 3–4 inches of compacted aggregate | Thin layer over loose soil that settles unevenly |
| Weed barrier | Full coverage under the base, water still drains | Skipped to save a roll; weeds and washout follow |
| Slope / drainage | ~1 in fall per 8–10 ft, away from the house | Flat or pitched toward the foundation; water pools |
| Fasteners | 5–6 in non-galvanized nails, flush, dense at edges | Galvanized or too few; edges lift a season later |
| Infill | Brushed down to the base of the blades | Skimped; blades lie flat and the surface mats |
Same materials, two outcomes. The left column is patience. The right column is a second weekend you didn't budget for.
The Checkpoints People Skip
Every turf problem I get a call about traces back to one of these. None of them are hard. They just get skipped when the sun’s out and the project feels almost done.
A Loose, Under-Compacted Base
The big one. A base that holds a deep footprint will ripple and dip under the turf. Compact in passes, add fines and a mist of water, and keep going until a boot barely prints.
No Weed Barrier
Skipping the fabric to save a roll lets weeds push up from below and lets fines wash around. It's the cheapest layer in the whole build — install it across the full area.
The Wrong Slope
Flat or pitched toward the house and water pools where you least want it. Set about 1 inch of fall per 8–10 feet away from the foundation before any turf goes down.
Skimping on Infill
Infill holds the blades up, weights the turf, and protects the backing. Too little and the surface mats and wrinkles in the heat. Brush it all the way down to the base of the fibers.
Galvanized Nails
Shiny nails resist the rust that locks them in, so they work their way back up and lift the edges. Use 5–6 inch non-galvanized, driven flush.
Visible Seams
Edges overlapping or gapping instead of butting cleanly, with blades not brushed across the joint. Butt the edges so the blades meet, then brush the seam until the line disappears.
Want the Materials Right the First Time?
We'll help you size the base, pick the infill, and order the fasteners — for homeowners and contractors across Arizona and Utah, all at the same yard price.
- 4.9 from 300+ reviews
- 12-year manufacturer warranty
- Free quote & free sample
- Arizona & Utah
What Customers Say
5.0 from 480+ verified Google reviews
So friendly and helpful! Came in with a specific need for my unfinished backyard and they had exactly what I needed. They were quick and even helped ratchet strap the grass roll onto the roof of my car (but delivery is an option!). The artificial grass is high quality and I’ll add a photo once I have it installed! 5/5 ⭐️ highly recommend and will utilize again for future projects!
I was sceptical at first because of all the online scams.But they came down from Mesa and delivered my turf, nails and backfill. At a price I wouldn’t have been able to get here in Tucson. Family owned and operated. I personally like that.
Expert Tips
— Bennett Brown, Co-Founder
Spend Your Patience on the Base
If you only do one thing slowly, do the base. Compact in passes until a boot barely leaves a print. Every shortcut down there shows up in the turf, and it's the one fix that means starting over.
Buy Non-Galvanized Nails on Purpose
The light rust is the feature, not a flaw. It locks 5–6 inch nails into the compacted aggregate so edges stay down. Shiny nails lift — I've pulled enough popped edges to be sure of it.
Order Base by the Ton, Not by Feel
Crushed aggregate is the line people under-order every time. Run the sub-base calculator so you make one trip, not three. The yard is happy to see you twice, but your weekend isn't.
Slope Before You Lay
Set about an inch of fall per 8–10 feet away from the house before any turf goes down. Water has to leave. Confirming it with a hose at the end is the cheapest insurance in the build.
Run the QA the Same Day
Wrinkles, lifted edges, and shallow infill are a quick fix in the first hours and a real job once the infill settles and the sun sets the backing. Walk the lawn before you load the truck.
Match the Pet Setup to the Dog
For dog areas, lean to the deeper end of the base range and swap plain sand for a coated, pet-rated infill. Same checklist otherwise — the base and fastening don't change because there's a dog.
— Bennett Brown, Co-Founder
Related Services
A flawless install isn’t a magic trick. It’s a full materials list, a base you didn’t rush, and a same-day walk to catch the small stuff while it’s still small. We supply the turf, the base, the infill, and the straight answers across the Arizona service area from our Mesa yard and across Utah from Provo — same yard price whether you’re doing it yourself or hiring it out. Ready to build your list? Call Mesa at (480) 910-2440 or Provo at (385) 335-9042, and we’ll help you check every box. The base advice is free. The dry jokes are too, and there are no refunds on either.