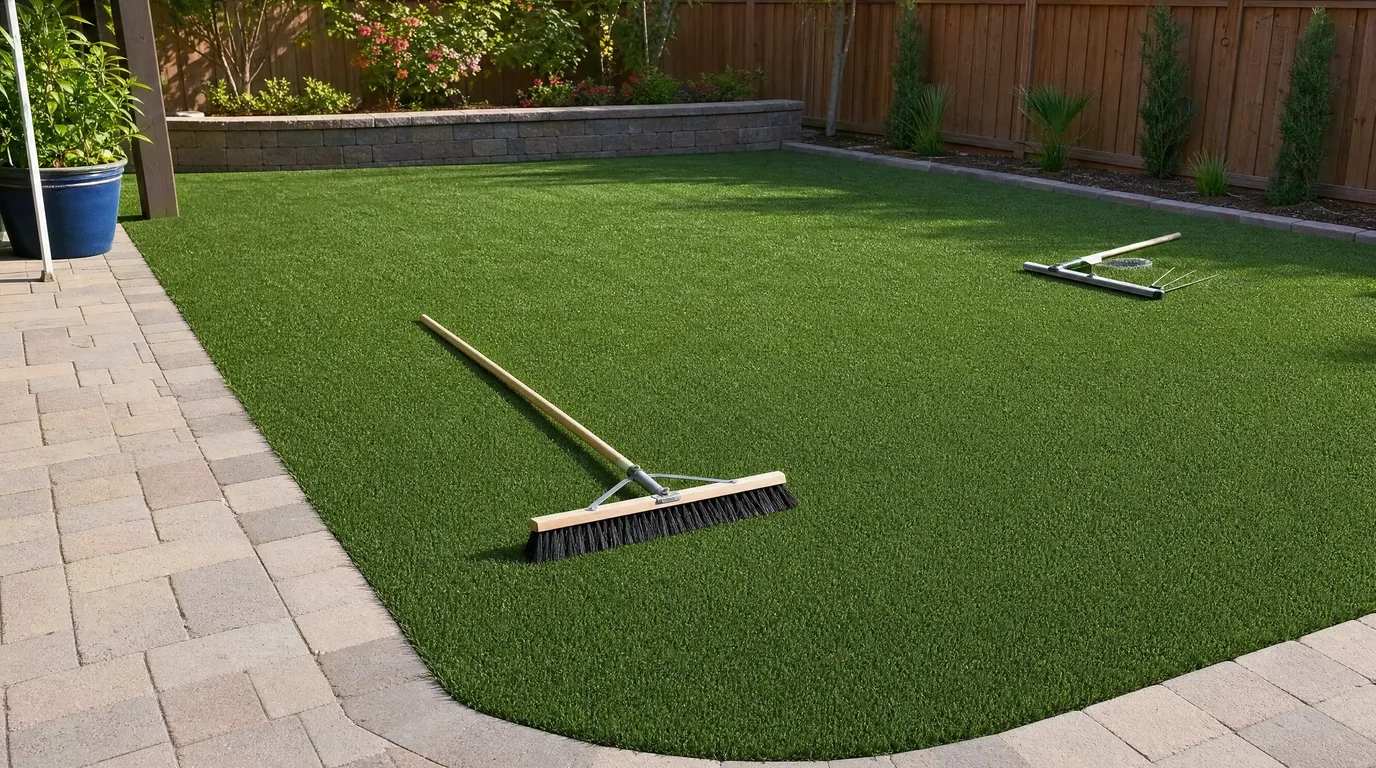
Installing artificial turf yourself is one of the best-payoff projects you can take on for a yard. You skip the labor charge, you control the quality of the base, and a backyard is genuinely a weekend job. The catch, and there’s always a catch: almost everything that decides how good the finished lawn looks happens before the turf comes off the roll. The turf is the easy part. The dirt is the job.
So how to install artificial turf comes down to one honest rule — get the base right and the rest goes down fast. This guide walks the full process step by step, the same order we do it in the field and in our full video walkthrough below. It’s written for real yards in our backyard — the caliche and heat of Arizona, the freeze-thaw winters of Utah — but the method travels anywhere. If you’d rather plan before you dig, our project planner sorts DIY versus installed and maps the job.
TL;DR — Quick Answer
Installing artificial turf is mostly base work. Strip the old grass, excavate about 4 inches, grade a slope away from the house, then build and compact a 3–4 inch aggregate base until it holds firm. Lay the turf with the nap running one direction, seam and stretch it, nail it with non-galvanized spikes, and brush in infill last. Get the base right and the turf goes down fast.
DIY skill level
Confident weekend DIYer
Base depth
3–4 inches compacted
Step that matters most
Grading & compacting the base
Most common mistake
Rushing the base prep
Planning a Turf Install?
Get straight answers and a free quote on turf, base, and infill — homeowner or contractor, same yard price.
Table of Contents
Key Takeaways
- The base is the whole game — excavate, grade for drainage, and compact a solid sub-base before you think about turf.
- Plan 3–4 inches of compacted base, sloped away from the house about 1 inch every 8 to 10 feet.
- Run the nap (the way the blades lean) the same direction across every piece, usually toward the patio or back door.
- Seam, stretch, then nail with non-galvanized spikes — they rust just enough to lock into the base and stay put.
- Brush in infill last; it holds the blades upright, weighs the turf down, and keeps it from wrinkling in the heat.
Watch the Full Install First
Before you dig, it helps to see the whole thing end to end. This is our complete backyard install, and the steps below follow the same order — so play the video on one screen and read along on the other.
1,100,000+ views on YouTube · 24-minute full install walkthroughWatch on YouTube →Here’s that same job in our own backyard, stage by stage — the exact sequence the video and the written steps below follow.
-
 1
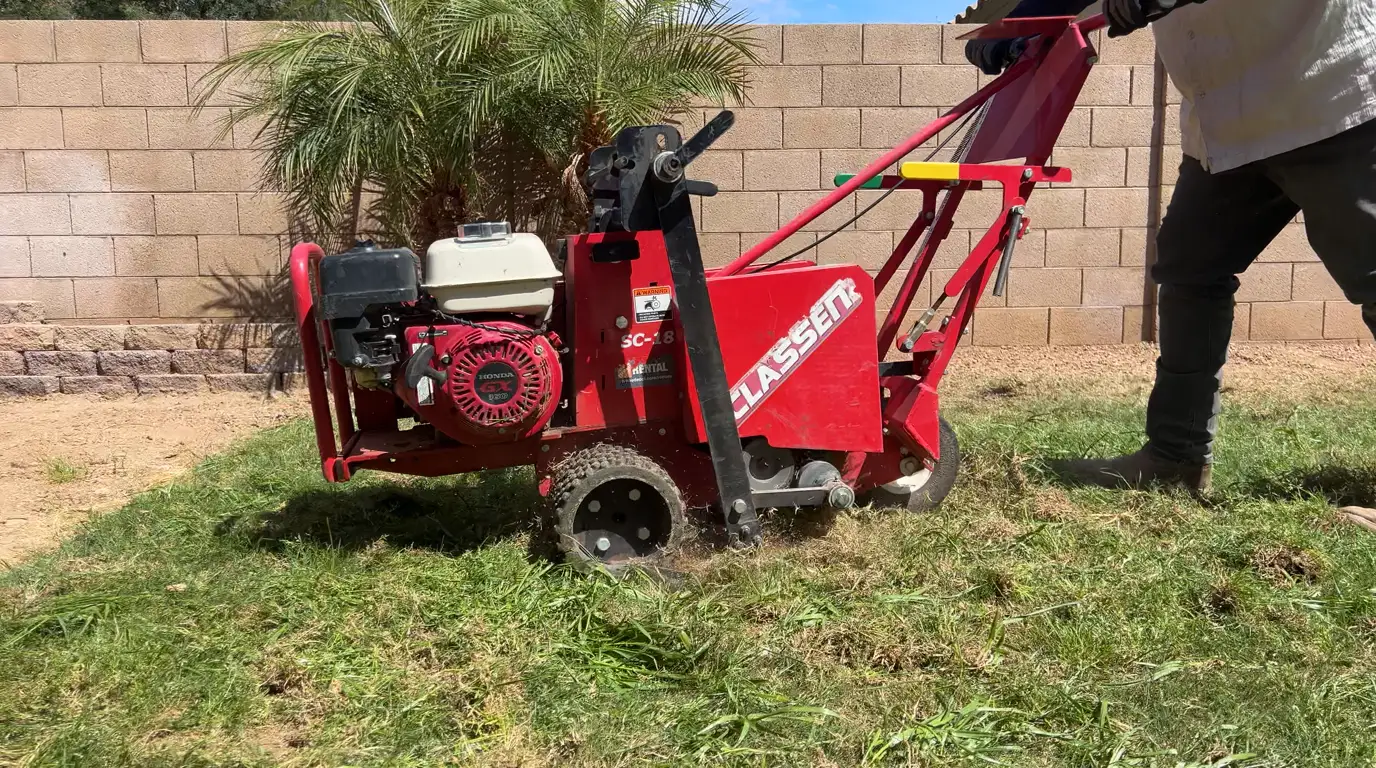
1 Strip the Old Lawn
Cut and pull the existing grass and roots off the yard with a sod cutter.
-
 2
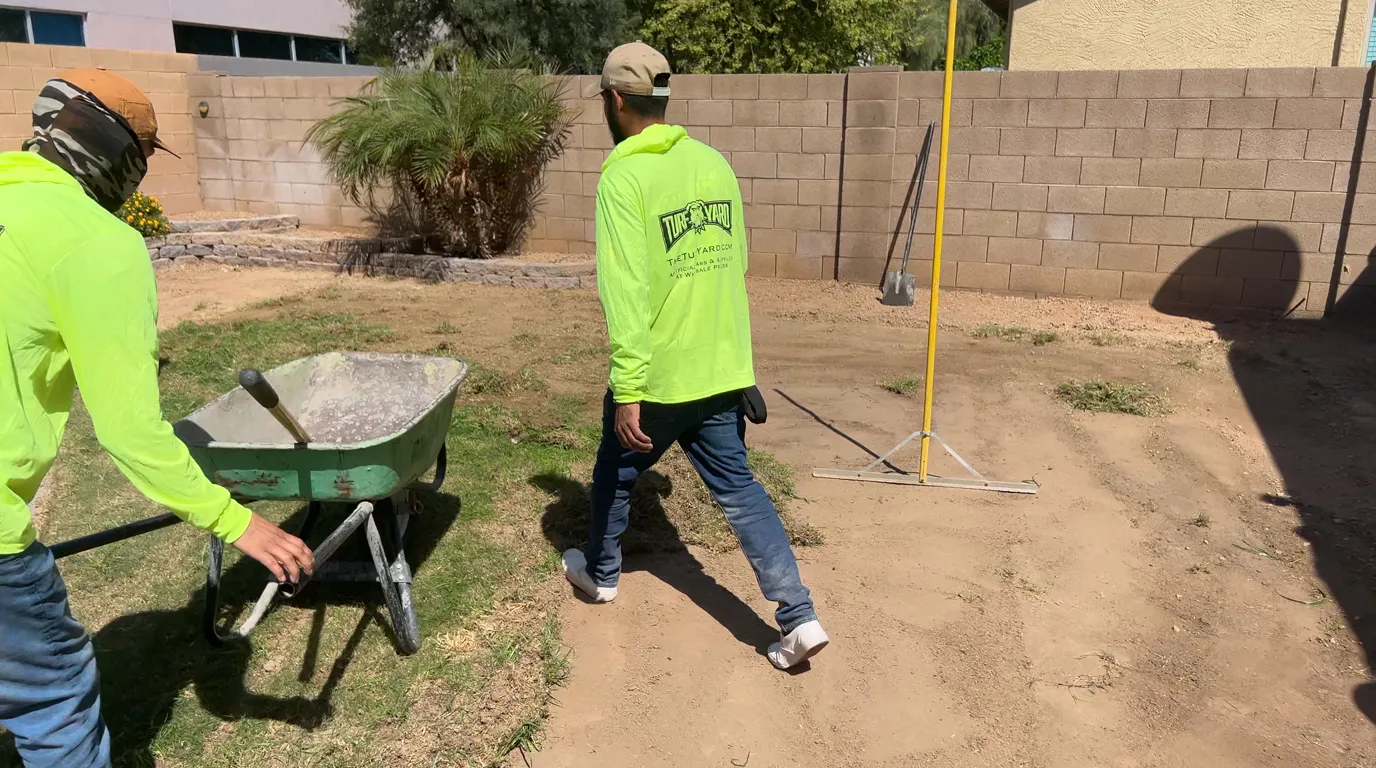
2 Clear and Haul Out
Excavate about four inches of soil and haul the debris out by wheelbarrow.
-
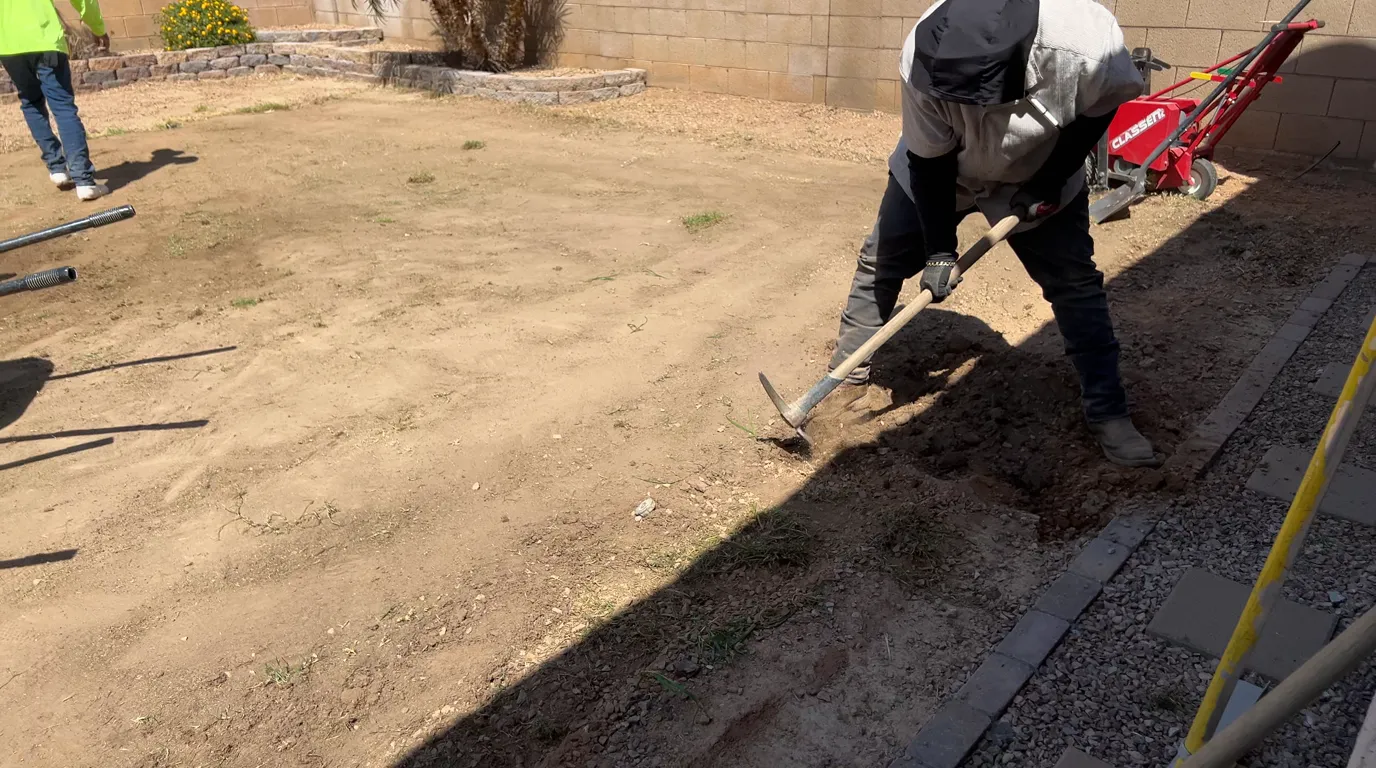 3
3 Grade for Drainage
Shape a slope away from the house so water always has somewhere to go.
-
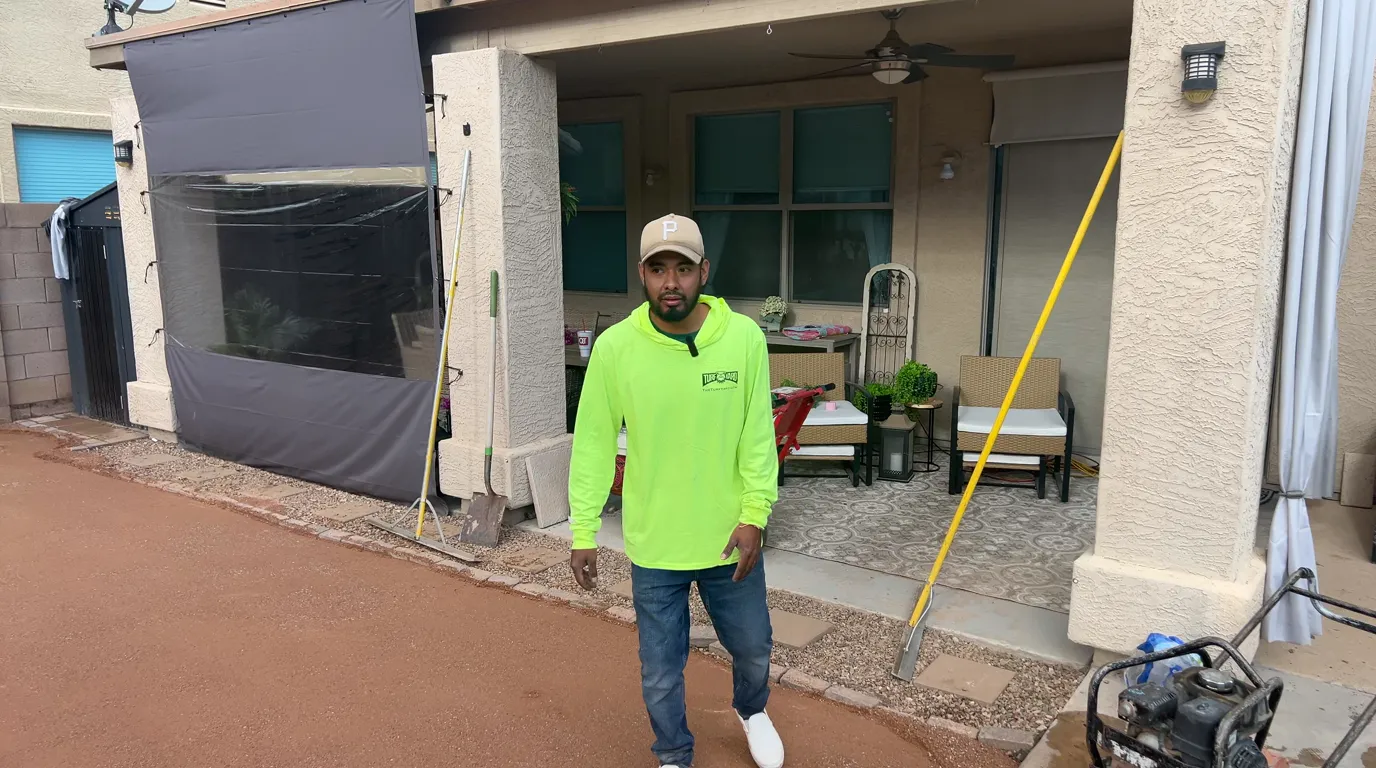 4
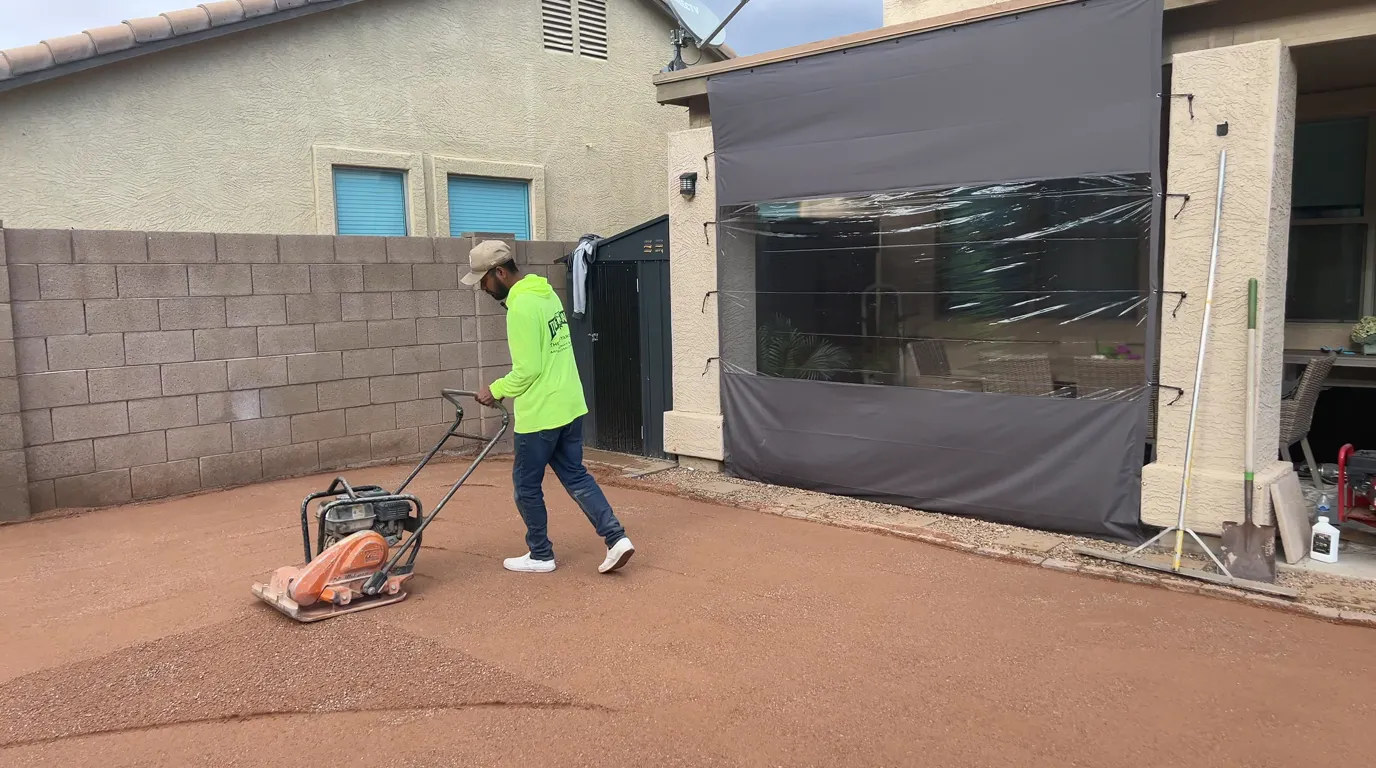
4 Build and Compact the Base
Spread road base, wet it, and run a plate compactor until it holds firm.
-
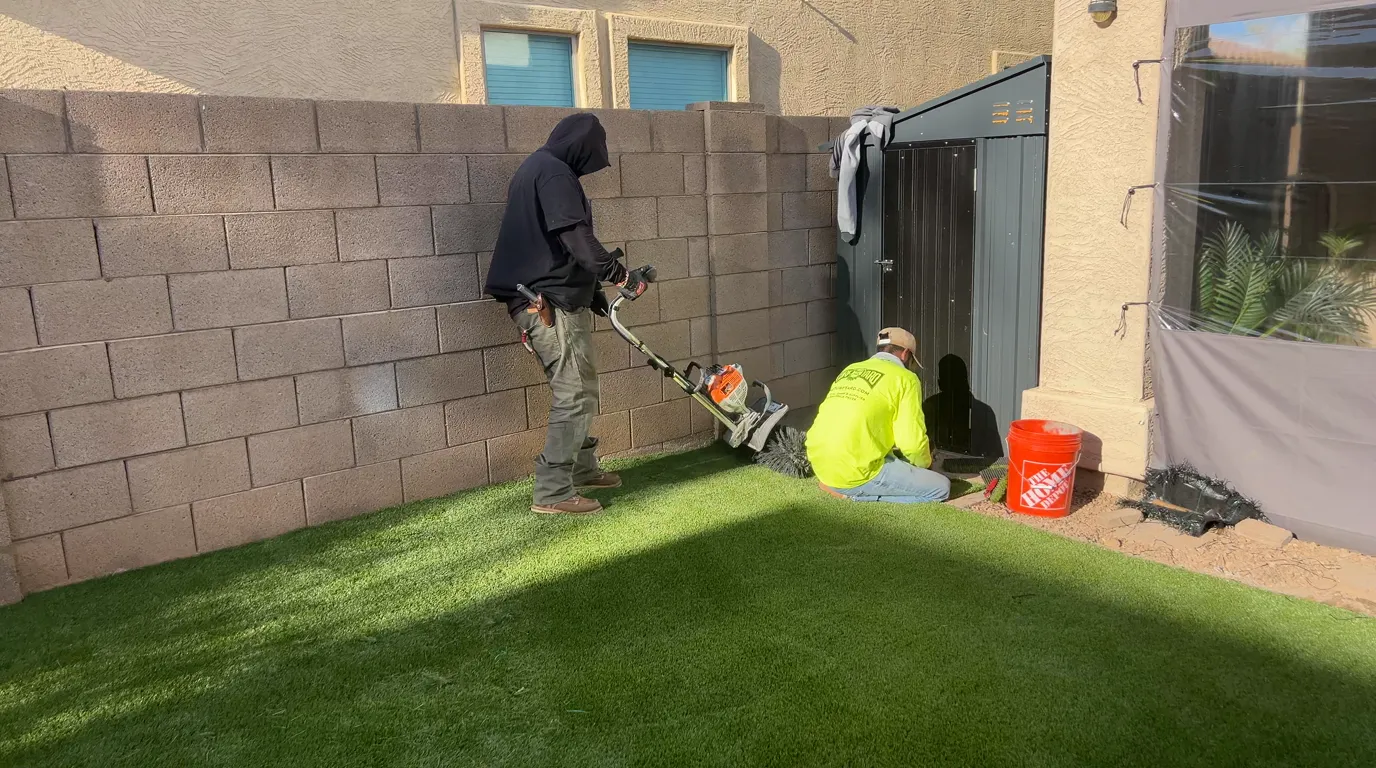 5
5 Lay and Secure the Turf
Roll out the turf, seam it, stretch it tight, and nail the edges down.
-
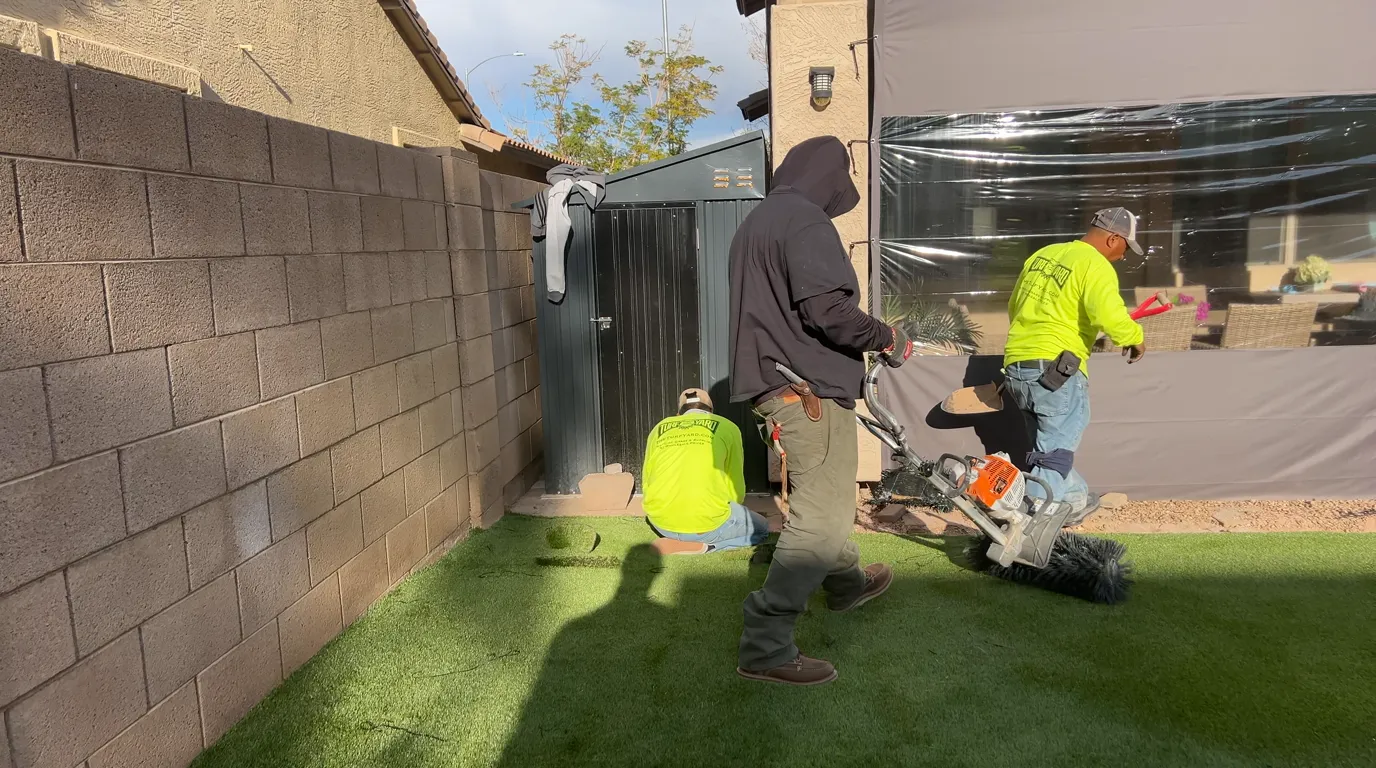 6
6 Brush In the Infill
Power-broom infill down to the blade base, and the finished lawn is done.
Tools and Materials You’ll Need
Gather everything before you start so you’re not standing in a half-dug yard at 2pm wondering where the seam tape went. Most of this is available at any home-improvement or rental store. For the full pre-install supplies list with exact specs — including why we use non-galvanized nails — plus a post-install QA walk-through, see our companion piece, the artificial turf installation checklist.
Materials
- Artificial turf, measured to your area (see Step 6)
- Crushed aggregate base — Class II road base or 3/4-inch minus, plus quarter-minus or decomposed granite for the top setting layer
- Turf infill — silica sand for lawns, a coated or zeolite infill for pet areas
- Weed barrier fabric
- Seam tape and outdoor turf seam glue, for joining pieces
- Non-galvanized turf nails or landscape staples, 5–6 inch. This one’s deliberate. A non-galvanized nail develops a light surface rust down in the base, which locks it in so it doesn’t lift over time. Galvanized nails resist rust and are more likely to work their way back up — and a nail backing out of finished turf is exactly the surprise you don’t want underfoot.
- Bender board or edging, optional, for clean borders
Tools
- Sod cutter or flat shovel, for removing the old grass
- Wheelbarrow and a steel or landscape rake
- Plate compactor (rentable) and a hand tamp for edges
- Carpet/turf stretcher or knee kicker
- Sharp utility knife with extra blades — buy more blades than you think you need
- Stiff push broom or a power broom for infill
- Garden hose, measuring tape, marking paint
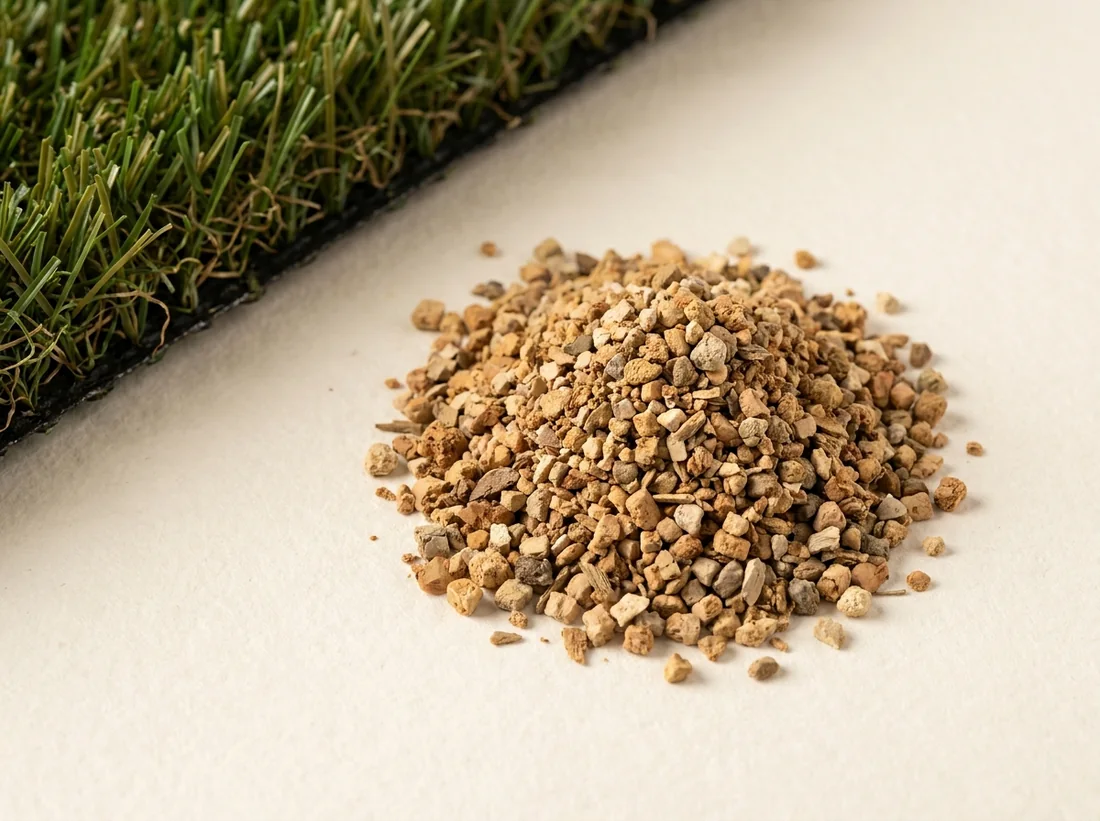
Natural Blend Pro Turf Infill Artificial Turf
Turf infill that supports blade stability, cushioning, drainage, and overall surface resilience.
View Turf Infill →Step 1 — Prep and Mark the Area
Start by clearing the space. Move furniture, planters, and anything sitting on the work area, then mark the perimeter of your install with marking paint or a string line. Locate any sprinkler lines, low-voltage lighting, or utilities before you dig so you don’t introduce yourself to them with a shovel. This is also the moment to plan your drainage direction — you want the finished surface to slope gently away from the house and any structures.
Step 2 — Remove the Grass and Soil
Strip out the old lawn and the top layer of soil. A sod cutter makes quick work of grass; for smaller areas a flat shovel does fine. Excavate to a depth of about 4 inches so you’ve got room for roughly 3–4 inches of compacted base plus the turf sitting flush with the surrounding hardscape.
In Arizona, watch for caliche — that hard, cement-like calcium layer the desert hides about a foot down. If you hit it, break through or dig past it where you can, because water won’t drain through caliche and standing moisture under turf is a slow-motion problem. Haul off the spoils as you go so you’re not tripping over a dirt pile all weekend.
Step 3 — Grade and Slope for Drainage
This is the step most DIYers underestimate, and it’s the one good drainage rides on. Permeable surfaces only work when the water has somewhere to go — the EPA’s stormwater guidance on permeable surfaces lays out the same principle for pavers and gravel, and turf is no different. Once the area is excavated, rough-grade the soil so it slopes away from the house — a fall of about 1 inch per 8 to 10 feet is plenty. Rake out the high and low spots.
Lay your weed barrier fabric over the graded soil now, overlapping the seams, so it blocks growth from below while still letting water drain through. Good grading here is what prevents puddles, soft spots, and that wavy look that shows up when water collects under the turf.
Step 4 — Add and Shape the Base
Bring in your crushed aggregate base and spread it across the area in even lifts. Use road base or 3/4-inch minus for the main structural layer, then a finer quarter-minus — decomposed granite or fines — for the top setting layer you’ll smooth and shape. A crushed, well-graded aggregate is what compacts hard and drains at the same time; Cornell’s sports-field program walks through the same base-and-drainage logic for synthetic turf on full-size fields, just at a bigger scale than your backyard.
How much base do you need? It comes down to your square footage and target depth. Rather than guess and end up with three spare tons in the driveway, run the numbers through our sub-base turf calculator — it turns your area and depth into the tons to order, so you buy right in one trip.
Not sure how much base to order?
Turn your square footage and base depth into tons of road base in under a minute, then request a free quote.
Step 5 — Compact the Base Solid
Lightly mist the base with water to help it bind, then run a plate compactor over the whole area in overlapping passes. Compact, check for low spots, add fines where it dips, re-grade, and compact again. Use a hand tamp along edges and corners the plate can’t reach.
You’re aiming for a surface that’s firm, flat, and barely holds a footprint — you should be able to walk across it without leaving deep impressions. Loose, compacted soil is the difference between a base that lasts and one that sinks; Utah State Extension’s breakdown of soil structure and compaction is a good primer on why a properly packed base behaves itself and a loose one doesn’t. A solid base is the single biggest factor in a professional-looking lawn, so fine-tune until it’s smooth and true. If Shawshank taught us anything, it’s that the base layer is everything — any ripple here telegraphs straight through the turf.
Step 6 — Measure, Order, and Lay Out the Turf
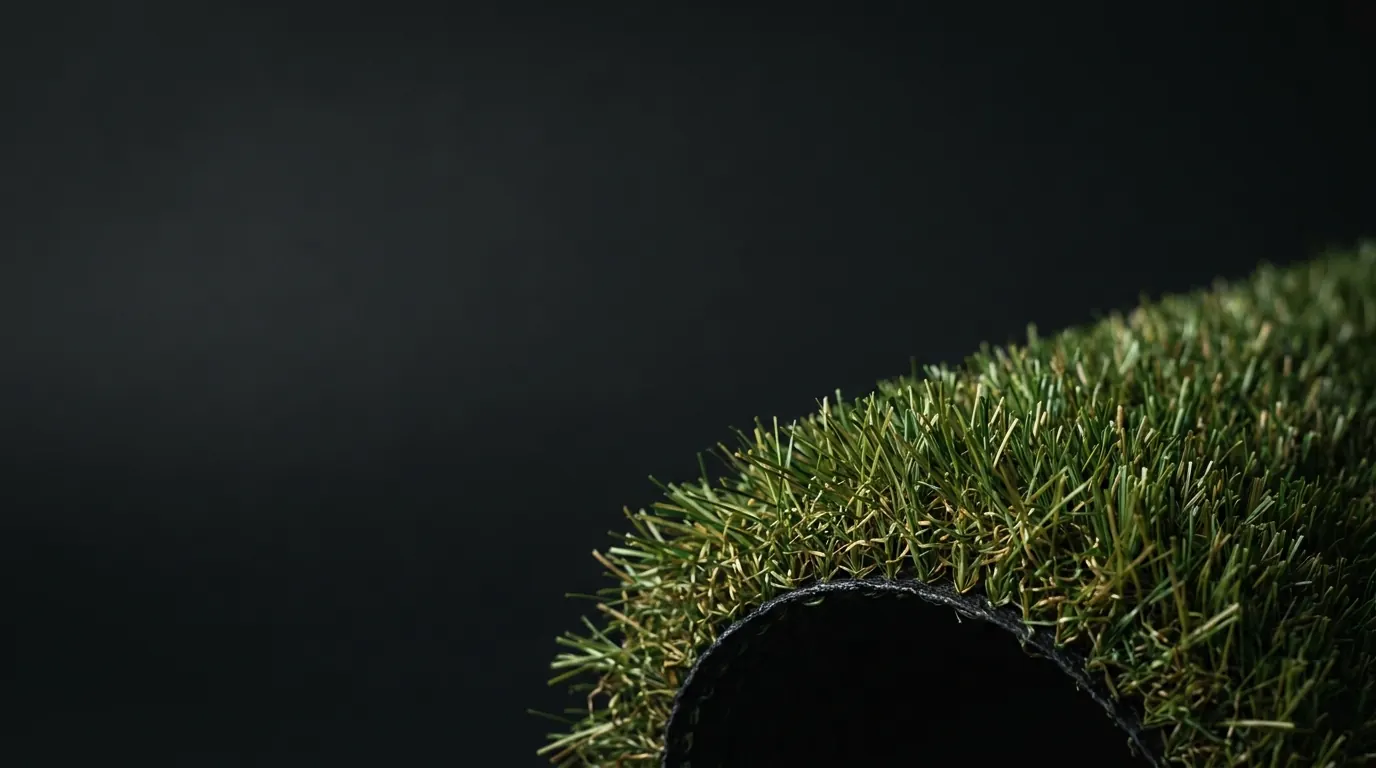
Measure carefully and order turf so the nap — the direction the blades lean — runs the same way across every piece, usually toward the main viewing point like a patio or back door. Turf comes in fixed roll widths (Lush 80, Lucky 77, and Lush Primo all run 15 ft wide; Lush 70 is 12 ft), so plan your layout to keep seams and waste down. Our turf calculator estimates turf and infill from your square footage.
Roll the turf out over the compacted base and let it acclimate in the sun for an hour or two — this relaxes the backing so it lies flat and works easier. Out here that takes about five minutes in July. Position each piece, confirm the nap direction matches, then rough-cut to shape, leaving a little excess to trim later. Measure twice, cut once — the utility knife does not offer a refund.
Step 7 — Seam, Stretch, and Secure
If your layout has more than one piece, join them with seam tape and turf glue. Butt the two edges together so the blades meet without overlapping or gapping, fold the edges back, lay seam tape down the center, apply glue, and press the turf into it. Brush across the seam so the blades hide the joint — done right, a good seam disappears, which is the entire point of doing it right.
Use a turf stretcher or knee kicker to pull the turf taut and pull out any wrinkles before you fasten anything. Then secure it: drive non-galvanized nails or staples every few inches around the perimeter and along seams, and roughly every 12–24 inches through the field. (Non-galvanized again on purpose — the light rust that develops in the base locks the nails in so they don’t lift.) Cut cleanly around edges, pavers, posts, and tree wells with a sharp blade, fitting the turf snug to the hardscape.
Step 8 — Brush In Infill and Finish
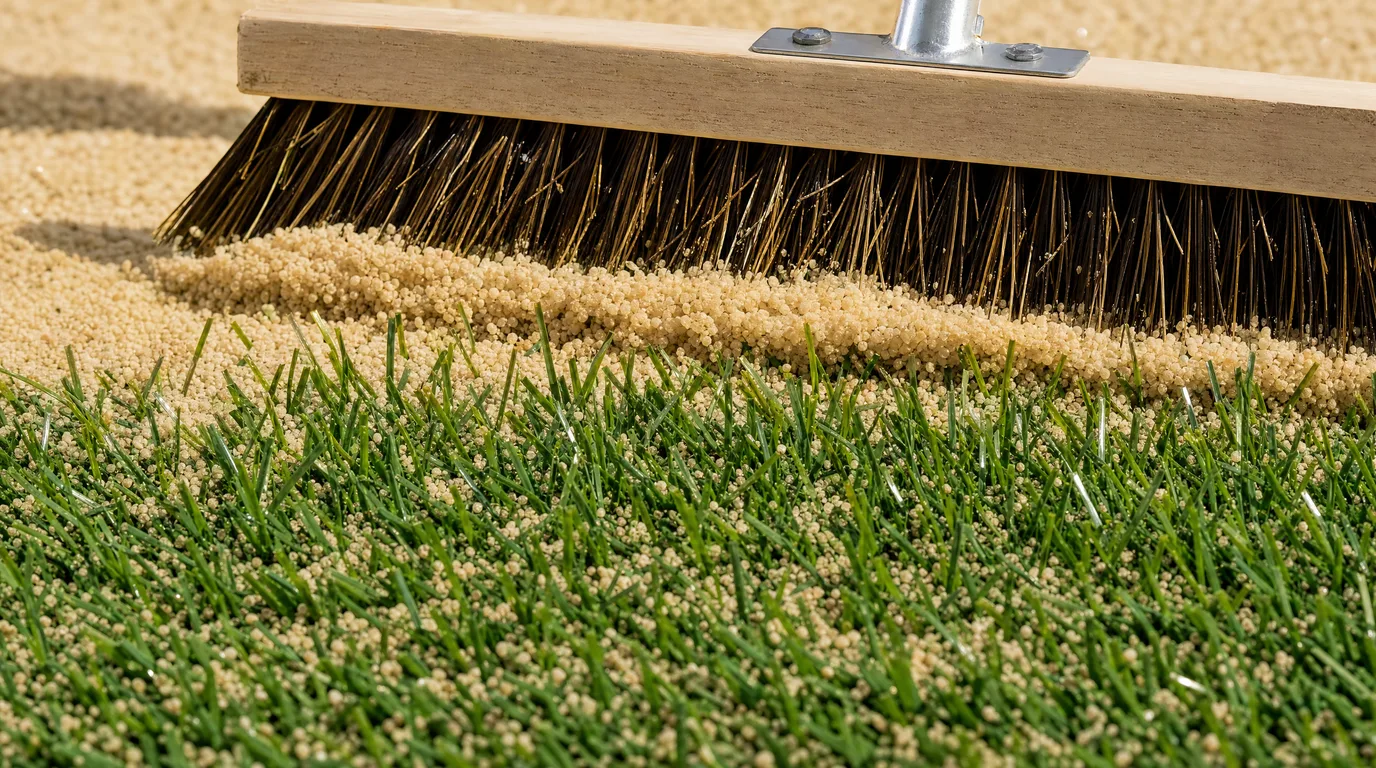
With the turf down and secured, spread your infill evenly across the surface — a drop spreader works well — then work it down to the base of the blades with a stiff push broom or power broom. Infill is not optional. It weights the turf down, holds the blades upright, shields the backing from UV, and adds a little cushion underfoot. Skip it and the turf mats down early; this is the corner people cut and then regret.
Apply in light passes, brushing between each, until the infill is seated and the blades stand tall. Give the lawn a final brush against the nap to lift the fibers, rinse it down, and you’re done. Crack something cold and go stand on it for a while — you earned that part.
Installing on Concrete, Pavers, and Pet Yards
The eight steps above are the standard dirt install — excavate, grade, build and compact a base, then lay turf. It’s the most common job and gives the best long-term result. A few surfaces change the playbook.
On concrete: you skip the base entirely. Make sure the slab drains first — if it holds water, drill weep holes at the low points before you do anything else. For comfort underfoot you can add a thin foam underlay. Then glue the turf down with outdoor turf adhesive, and seam glue where pieces meet, instead of nailing. Brush in infill as usual. Patios, balconies, and rooftops are the same job on a smaller slab — our guide to artificial turf for patios and balconies covers drainage mats, door clearance, and renter-friendly setups.
Between pavers and stepping stones: measure each gap, cut turf pieces to fit snug, and tuck the edges down between the stones. A little extra base prep in each channel keeps the strips level with the surrounding pavers. Take your time on the cuts — clean, tight ones are what make a paver inlay look intentional instead of improvised.
For pet yards: two things change. Lean toward the deeper end of the base range and make sure drainage is excellent, since the area gets rinsed regularly. And use a pet-rated infill — a coated or zeolite product that helps neutralize odor — instead of plain sand. The rest of the install is the same. For the full picture on heat, drainage, and odor, see our guide to artificial turf for dogs in Phoenix or browse artificial pet turf.
DIY vs. Hiring It Out
A standard backyard is well within reach for a confident DIYer, and doing it yourself drops the biggest line item — labor. Where people most often choose to hand it off are large areas, complex shapes, putting greens, and jobs with heavy excavation and hauling. No shame in either call; the turf doesn’t know who laid it.
If you’re on the fence, our artificial turf project planner walks you through scope, square footage, and the DIY-versus-contractor decision so you can commit with a clear plan. Prefer to have us do it? Our premium artificial turf installation service is engineered base, hand-finished seams, AZ and UT. Either way we supply both homeowners and contractors, so you can buy materials and get straight guidance no matter who’s holding the knife.
Ready to price out your project?
Estimate turf and infill for your space in under a minute, then request a free quote from our Mesa yard.
| Layer | What to use | Why it's there |
|---|---|---|
| Sub-base (3–4 in) | Class II road base or 3/4-inch minus | Compacts hard and drains — the structural foundation of the whole lawn |
| Setting layer (~1 in) | Quarter-minus / decomposed granite or fines | Smooths flat so ripples don't telegraph through the turf |
| Weed barrier | Fabric over the graded soil | Blocks growth from below while still draining through |
| Turf | Lush 70 $1.19, Lush 80 $1.56, Lush Primo $1.89 per sq ft | The part everyone sees — and the easy part to install |
| Infill | Silica sand, or a zeolite/coated infill for pets | Holds blades upright, weighs it down, stops heat wrinkling |
The five layers of a DIY install, top to bottom. Turf prices are the yard price — contractor pricing for everyone, AZ and UT the same.
The Steps People Skip (And Pay For Later)
Nine times out of ten, a turf job that goes wrong went wrong in the base, not the blades. Here’s where it actually happens.
Rushing the Compaction
A base that holds a footprint will sink and ripple within a season. Mist it, run overlapping passes, re-grade the dips, and compact again until it's firm. This is most of the job — give it the time.
Skipping the Slope
Flat ground holds water, and water under turf means puddles and soft spots. Build in a fall of about 1 inch per 8 to 10 feet away from the house before you lay a thing.
No Weed Barrier
Lay the fabric over the graded soil before the base goes in. It's cheap insurance against growth pushing up from below — far easier than fighting weeds through finished turf later.
Skimping on Infill
Infill holds the blades upright, drains, and stops heat wrinkling. Cut it short and the turf mats down early. Brush it in fully, in light passes — it's the cheapest layer doing the most work.
Galvanized Nails
They resist rust, which sounds good until one works its way back up out of your lawn. Non-galvanized rusts just enough to lock into the base and stay put.
Wrong Nap Direction
Run the blades the same way across every piece, toward the patio or back door. Mixed nap catches the light differently and the seams give themselves away.
Want a Second Set of Eyes Before You Dig?
Tell us your square footage and we'll help you order the right turf, base, and infill — for homeowners and contractors across Arizona and Utah.
- 4.9 from 300+ reviews
- 12-year manufacturer warranty
- Free quote & free sample
- Arizona & Utah
What Customers Say
5.0 from 480+ verified Google reviews
AWESOME EXPERIENCE. I was working with a different supplier who fell through and I’m on a bit of a time crunch on my project. I hit up The Turf Yard and they gave me a very reasonable price for the turf and were able to deliver it the same day. I was extremely impressed. I would 200% recommend and will be coming back for more business when I’m ready to finish my project in it’s entirety. Thanks y’all!
So friendly and helpful! Came in with a specific need for my unfinished backyard and they had exactly what I needed. They were quick and even helped ratchet strap the grass roll onto the roof of my car (but delivery is an option!). The artificial grass is high quality and I’ll add a photo once I have it installed! 5/5 ⭐️ highly recommend and will utilize again for future projects!
Expert Tips
— Bennett Brown, Co-Founder
Spend Your Patience on the Base
The turf goes down in an afternoon. The base is where the weekend goes, and it's the only part you can't fix later without pulling everything back up. Slow down here.
Compact, Check, Compact Again
One pass with the plate isn't enough. Mist it, compact, find the low spots, add fines, re-grade, and run it again until it holds a footprint barely if at all.
Dig Past the Caliche
In Arizona that hard calcium layer won't drain, period. If you hit it during excavation, break through or get past it — standing water under turf is a problem you build in for free.
Let the Turf Sun First
Roll it out and let it relax in the sun for an hour or two before you cut. The backing settles flat and the whole job gets easier. In July, mind the time — it heats up fast.
Non-Galvanized Nails, Every Time
The light rust is the feature. It locks the spike into the base so it stays down. Galvanized nails are the ones that surprise you underfoot two summers later.
Brush Infill in Light Passes
Dump it all at once and it bridges over the blades. Spread, brush, spread, brush, until it's seated at the base and the fibers stand tall. The final brush against the nap is what makes it look new.
— Bennett Brown, Co-Founder
Related Services
A DIY artificial turf install is one of those projects you finish a little tired and a lot pleased — no more mud, dust, watering, or mowing, and a clean green yard that holds up to Arizona heat and Utah winters alike. The whole thing really does come down to patience on the base and care on the cuts. If you want to skip the base sweat, the Synthetic Turf Council keeps a directory of certified installers, and our own crew is one call away.
When you’re ready for materials, we supply turf, base, and infill across the Arizona service area from our Mesa yard and across Utah from Provo — free samples, hands-on guidance, contractor pricing for everyone. Call Mesa at (480) 910-2440 or Provo at (385) 335-9042. We’ll help you pick it, price it, and load it. The compactor you’re on your own with, but the advice is free.